Daz Cox Performance Horses
All horse aspects covered
Daz is a highly recommended trainer who has contributed to the success of 100’s of horses. Trusted by many she has worked extremely hard to achieve her glowing reputation over the course of 15 years.
Whether it be training or sale prep she works with every horse as an individual to fine tune them to reach their potential. Along with her impeccable horsemanship, Daz and team have a keen eye for photography which captures each horses unique abilities and temperament.
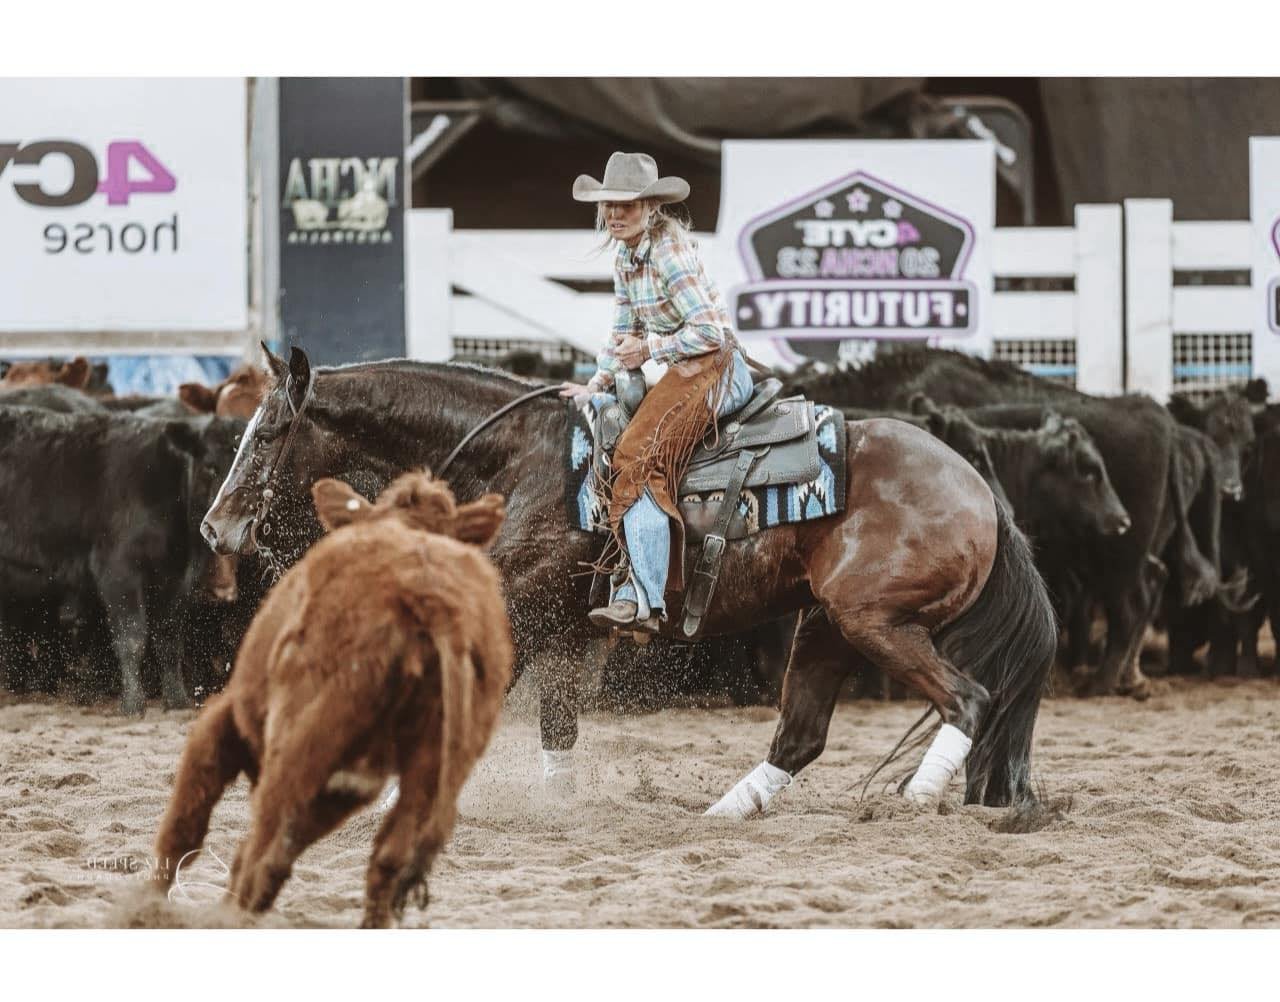
She is also a well-known name in the cutting industry having won many titles in non pro.
